
What is Type 1 Hair? Type 1 hair is characterized by its straight texture, lacking any visible curl or wave pattern. It tends to appear smooth, ...
How to Deal with a Broken Nail Under Acrylic: Tips to Stop the Bleeding and Ensure Quick Healing
We've all been there – that horrifying moment when you realize your perfectly manicured acrylic nail has broken, and to make matters worse, it's ...
Will Purple Shampoo Fix Hot Roots?
When you bleach or dye your hair, you may see the brassy shade at the roots, which is referred to as hot root. Your hair's roots can appear bright, ...
Can Tanning Beds Change Nail Color? Exploring the Facts and Myths
Have you ever wondered if using a tanning bed can change the color of your nails? While some people swear that their nail color has changed after ...
Does Tanning Lotion Expire? How To Tell If Tanning Lotion Is Expired?
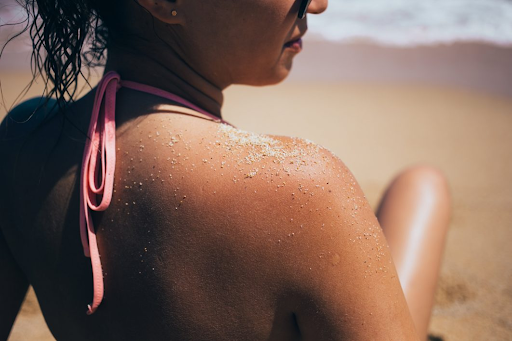
As summer is coming, tanning lotion is increasingly becoming a pivotal product for those who want to have their skin bronze golden without the hassle ...
The 10 Best pH Balanced Shampoos in 2023
Heard a lot about ph balanced shampoos but not sure how they can benefit you? Well, today, I will share some knowledge that I have gained in the past ...
Can You Use Brush On Nail Glue For Dip Powder? The reason why yes or no?
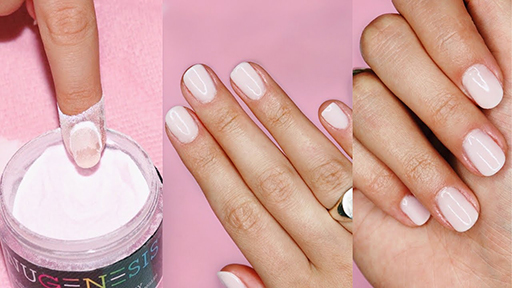
Dip powder nails are an amazing alternative to acrylic nails that DIYers can dive into at home! Whether you have ever tried this mani yourself and ...
What can I use if I don’t have nail primer?
Nail primers are an essential part of any nail care routine. They help to ensure that the nail polish adheres properly to the nail surface, and they ...
Can You Change Nail Shape When Getting a Fill?
Getting your nails done is a great way to pamper yourself and feel put together. If you get acrylic or gel nails, you may wonder if you can change the ...
Do People With Red Hair Have Red Pubes?
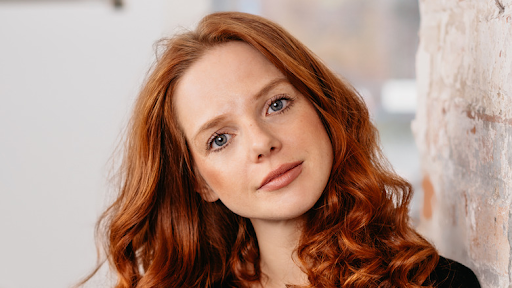
Many people wonder if those with red hair always have red pubes. Do not ignore this article if you have the same question and find it hard to ...